Composition Techniques

Composition Techniques: Foreground, Middle, and Background by Leung-Kit To

Evie

Evie

Foreground, Middle, and Background

The space within a photograph can be divided into three planes, the foreground, the middle, and the background. This is fairly straight forward; the foreground is the area in the photo closest to the camera, and the furthest is the background - everything in between is the middle.

Generally people look at the foreground first. It's important to consider this when you're composing your photo. What’s in the foreground can add depth to the photo, decide on how much depth you want or if you need depth to make your photo work. With landscapes, you can try and spot an interesting rock, flowers, etc to compliment the scenery you're photographing. With portraits, I find having the subject in the middle and blurring a something like a fence adds a nice touch of softness to the photo. Here's an example of this in action; example.

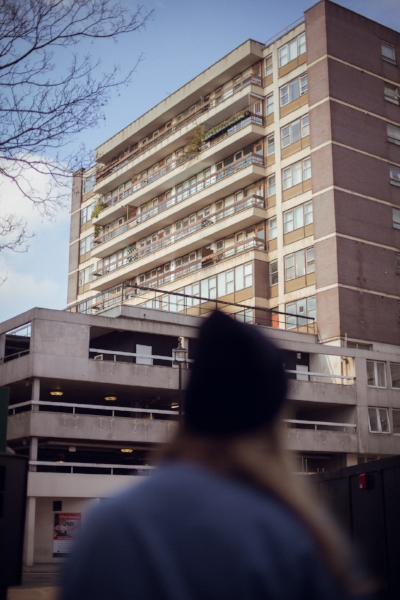
Don't be afraid to break the norm when focussing on the foreground, middle, or background. Especially when shooting on the street. I found that out when I was on the streets shooting a model, there could something even more interesting in the background - like in my photo with Evie.

Here are some more creative examples; example 1, example 2, example 3, and example 4

Kelly

Kelly

Barbican Conservatory

Barbican Conservatory

Composition Techniques: Vantage Point by Leung-Kit To

Newport Street-2.jpg

Vantage Point


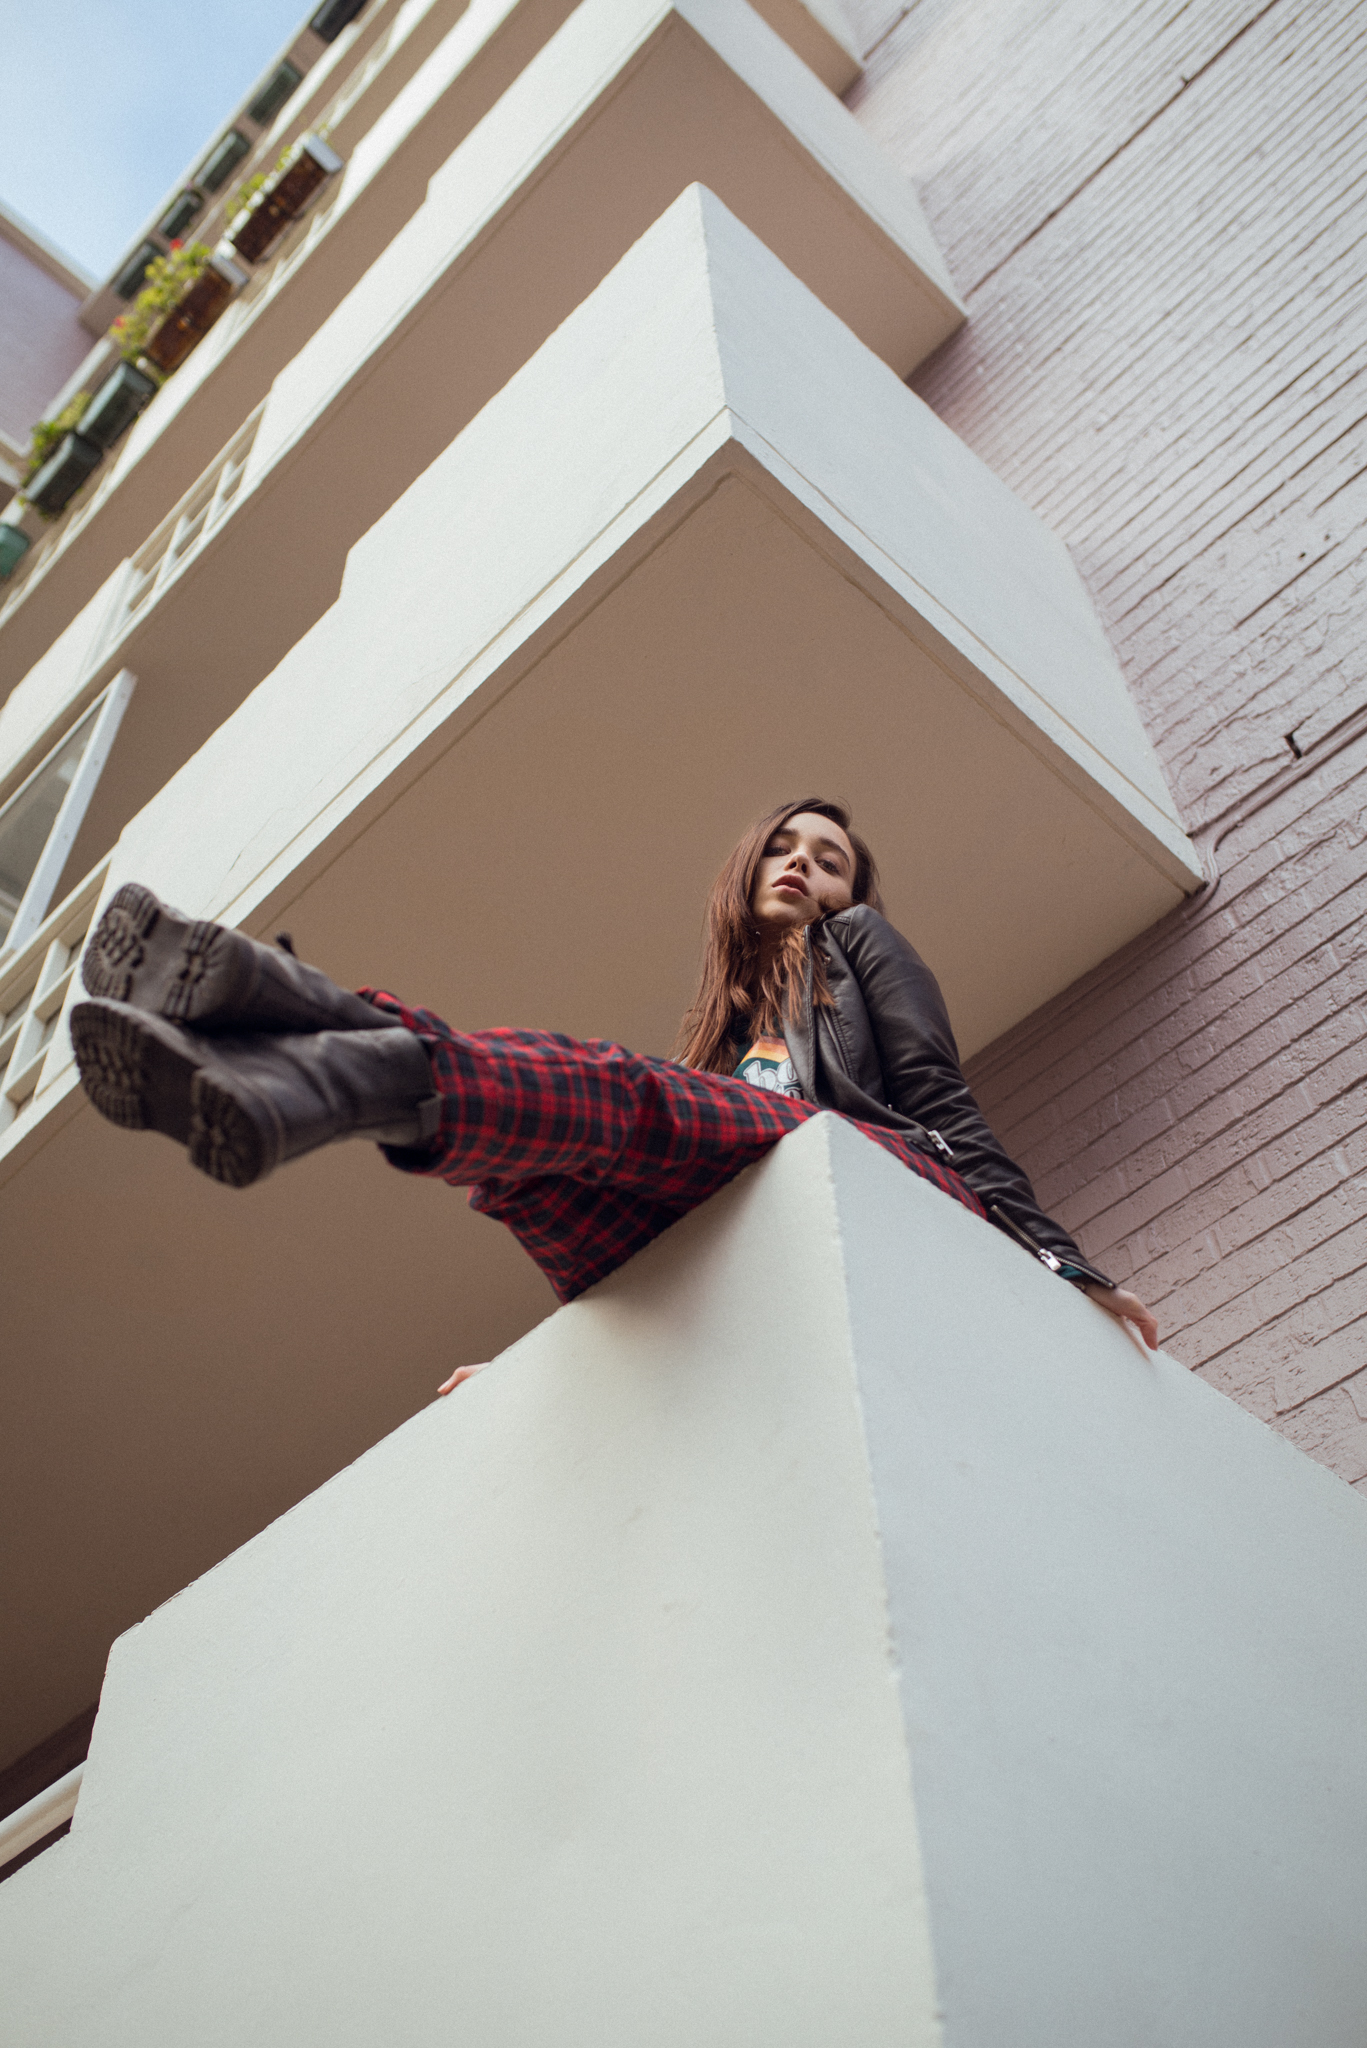
Shooting from different vantage points provides an interesting and fresh perspective to your photos. This is not just limited to landscape photography. Portraits, fashion, photojournalism, and wildlife photographs can benefit from a different perspective. If you're looking to create a certain mood or atmosphere in the photo, you should decide carefully whether to shoot from a low angle or a high angle. The effects of a low angle shot empowers the subject, and a high angle adds a sense of vulnerability. For example, when Superman is on a ledge - he's often shown from a low angle perspective to emphasise his power.

Here are some examples of different vantage points.

Shot from the Shard, example of a High Vantage Point

Shot from the Shard, example of a High Vantage Point

Shot in Canary Wharf, example of a Low Vantage Point

Shot in Canary Wharf, example of a Low Vantage Point

Sephora, example of a Low Vantage Point

Sephora, example of a Low Vantage Point

Huntar, example of a High Vantage Point

Huntar, example of a High Vantage Point


Let me know in the comments below what techniques you would like me to explore next.

Composition Techniques: Symmetry & Centred Subject by Leung-Kit To

Huntar, an example of Symmetrical Composition

Huntar, an example of Symmetrical Composition

Symmetry & Centred Subjects


These two composition technique are fairly straight forward, but incredible effective. Like with the Rule of Thirds, there are key areas where peoples' eyes are particularly drawn to - the centre of the frame being the most popular. This is one of the most common framing techniques, dating back to the beginning of photography.

Sophie, an example of a Centred Subject

Sophie, an example of a Centred Subject

By placing the subject in the centre of the frame, it helps the viewers to easily identify the main subject of the frame. When shot at a wide aperture, it allows for an evenly spaced background blur which adds depth to the photo and brings the focus (no pun intended) to the foreground subject.

Minna, an example of a Centred Subject

Minna, an example of a Centred Subject

A symmetrical shot is incredible pleasant to view. It creates a balance in the photo. You can find lots of examples of this in urban architecture photographs or cityscape shots. In the case of the photos with Huntar, and Lotta, the symmetrical background helps to balance out the background and to bring interest to the subject.

Lotta, an example of Symmetrical Composition

Lotta, an example of Symmetrical Composition

Let me know in the comments below what techniques you would like me to explore next.

Composition Techniques: What is the Rule of Thirds? by Kip Photography

Gudlaug, an example of Rule of Thirds

Gudlaug, an example of Rule of Thirds

What is the Rule of Thirds?

This post is the first in a series on Composition Techniques. The aim of this series is to explore composition techniques that budding photographers should be experimenting with.


The rule of thirds is a framing technique that is used in paintings, film, and photographs. This technique should be one of the first compositional technique any photographer learns, because it's so versatile. It applies to photos no matter the aspect ratio or orientation. 

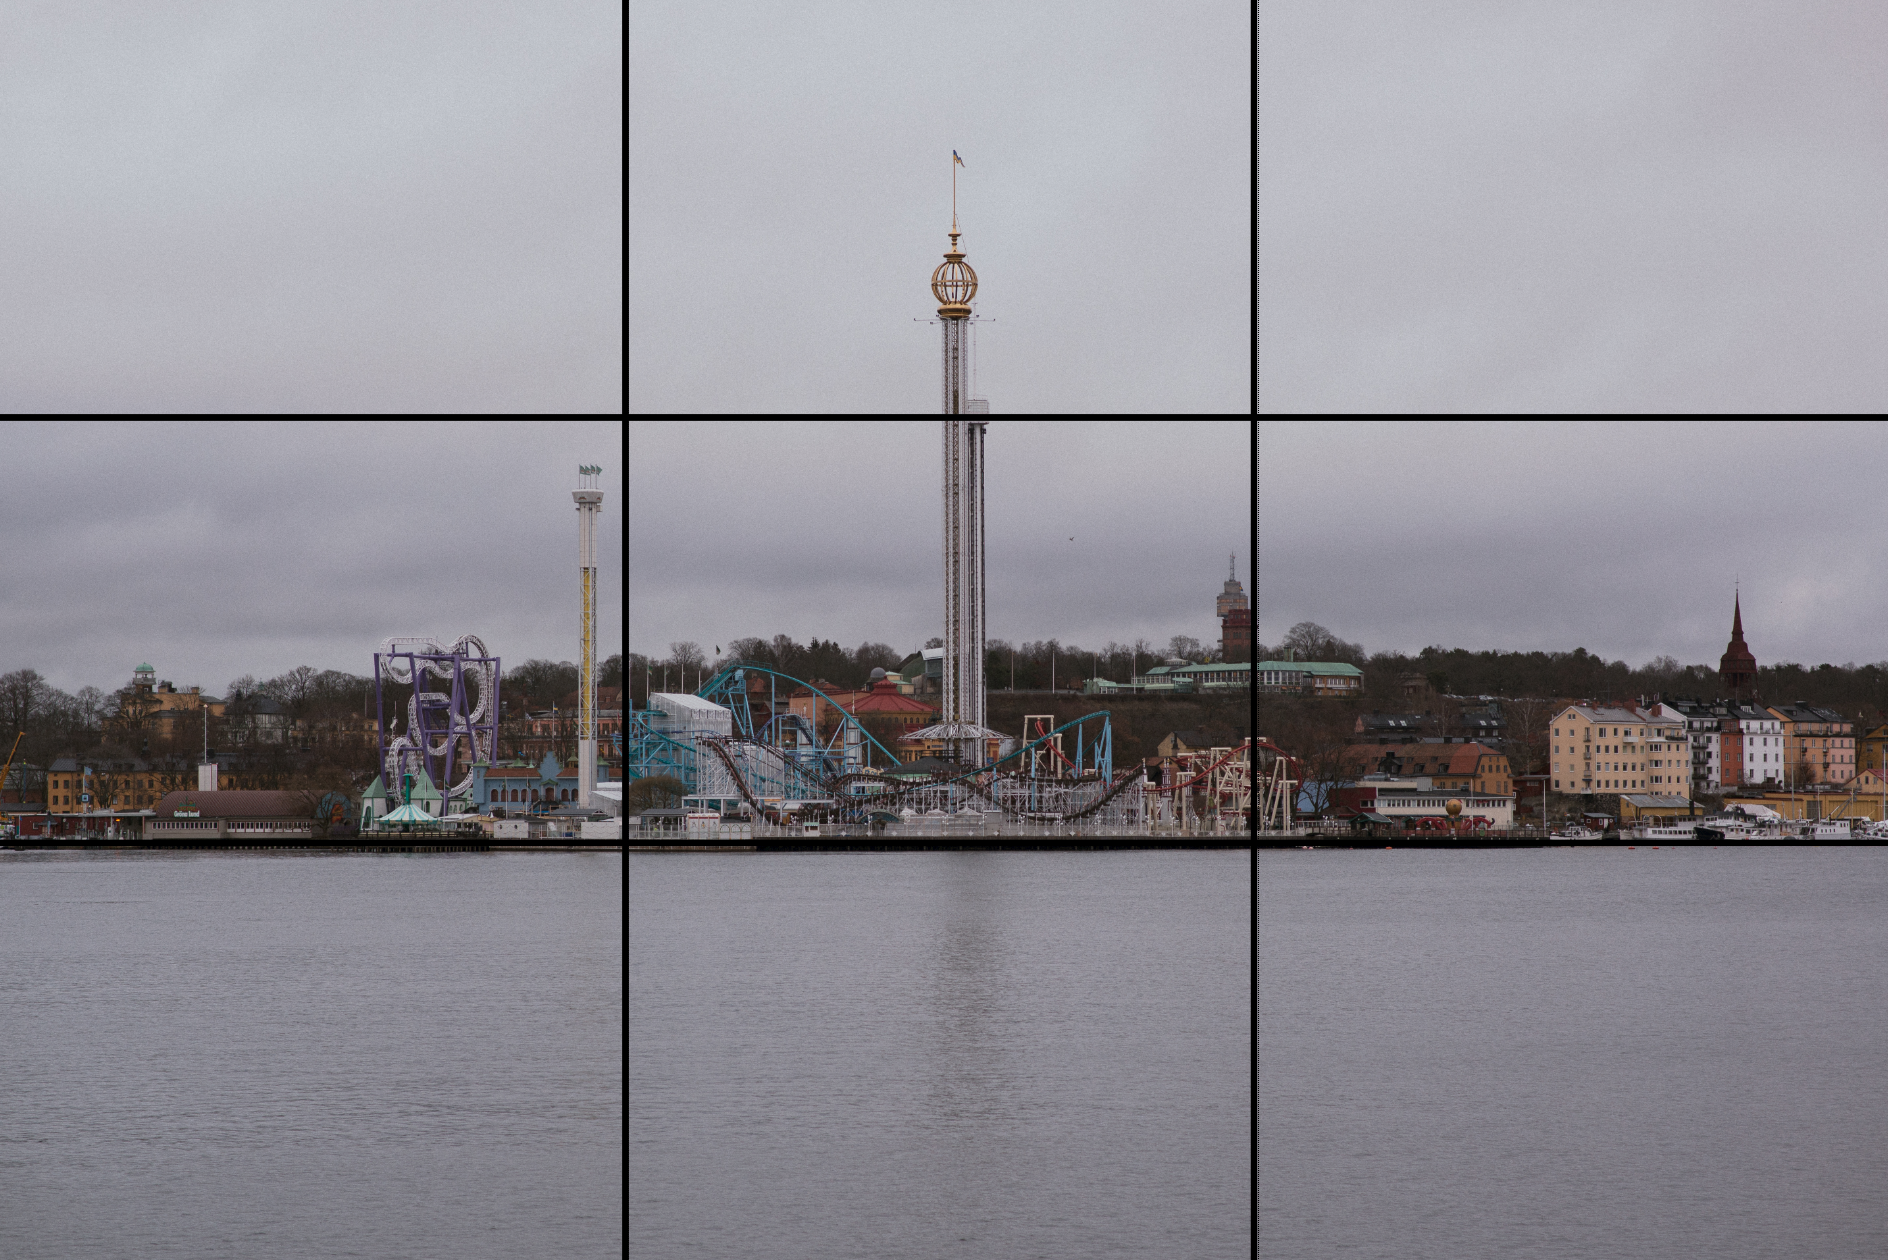
The composition is divided evenly into 9 parts by two evenly spaces horizontal and two evenly spaced vertical lines. If you're shooting video or stills, the LiveView mode on your camera can enable the rule of thirds grid. This technique is really handy in helping you frame a photo for several reasons. 

Jodie, an example of Rule of Thirds

Jodie, an example of Rule of Thirds

One, people are particularly drawn to the area where the lines intersect. It's ideal to frame the main subject of the photo accordingly, such as framing the eyes of the subject where the lines are - making them more of the focus. This is particular important when taking traditional portraits.

Oslo, an example of Rule of Thirds

Oslo, an example of Rule of Thirds

The rule of thirds can help you straighten the horizon, and to leave empty space in the composition appropriately (as seen in the picture above, and the picture of Gudlaug on the ship). It's important to sometimes have an space around the subject to help balance out the photo, and to set a scene.


Let me know in the comments below what techniques you would like me to explore next.